...

Care and sterilisation

Instructions for use of Deppeler dental instruments: cleaning, sterilisation and care to preserve their performance.

  • 134°C

    We recommend steam sterilization (Prion cycle) at 134°C (273.2°F) for 18 min

  • 100+

    The service life of Deppeler instruments is guaranteed for more than 100 use cycles.

  • 8

    Reprocessing instructions

Before you start

  • FIRST USE: The instruments are delivered in a NON-STERILE state and must be reprocessed before each use, following the instructions.

  • The cleaning process must begin immediately after use. Do not leave contaminated instruments to dry.

  • Deppeler instruments must not be sharpened during treatment. Their contact with a non-sterile device could lead to contamination.

  • Deppeler instruments may be weakened if they are dropped. Check them carefully for any deformation or cracks.

General recommendations

  • Only use approved detergent solutions with disinfectant effect (VAH/DGHM list, CE marking) and strictly follow their instructions for use.
  • For their own safety, practitioners must wear personal protective equipment (goggles, mask, gloves).
  • Users are responsible for the cleaning, disinfection, sterilization and condition of the instruments that they use.
  • It is imperative that demineralized water is used for the final rinse.
  • Never use a wire brush to remove solid residues on the instruments. This could permanently damage your instruments. It is preferable to clean them immediately after use so that there is no solid residue to remove.

Reprocessing instructions

Full leaflet (PDF)
  1. Soaking

    Actions

    Immediately after use, soak all devices in a disinfectant solution.

    Warnings and observations

    • Observe the manufacturer’s instructions regarding concentrations and soaking times (excessive concentration or soaking could lead to corrosion of the device or other damage).
    • The pre-disinfection solution must be changed after each soaking.
  2. Rinsing

    Actions

    Rinse instruments thoroughly under running water.

    Warnings and observations

    • Use tap water for rinsing.
  3. Automatic cleaning in a washer-disinfector

    Actions

    Place the instruments in the unit, either in apertured sterilization trays or individually.

    Start the appropriate cycle.

    Use a detergent solution approved by the manufacturer of the washer-disinfector.

    Warnings and observations

    • Use an ISO 15883-compliant unit.
    • Avoid any contact between the instruments.
    • Follow the instructions and concentrations specified by the manufacturer of the detergent solution.
    • Follow the instructions for the washer-disinfector and check that the performance criteria are met after each cycle, as indicated by the manufacturer.
    • The final rinse step should be carried out with demineralized water.
    • It is the practitioner’s responsibility to follow the calibration, validation and maintenance procedures specified by the washer-disinfector manufacturer.
  4. Drying

    Actions

    Instruments must be carefully dried when removed from the washer-disinfector.

    Warnings and observations

    • Liquid residues can leave unsightly stains on the instruments.
  5. Inspection

    Actions

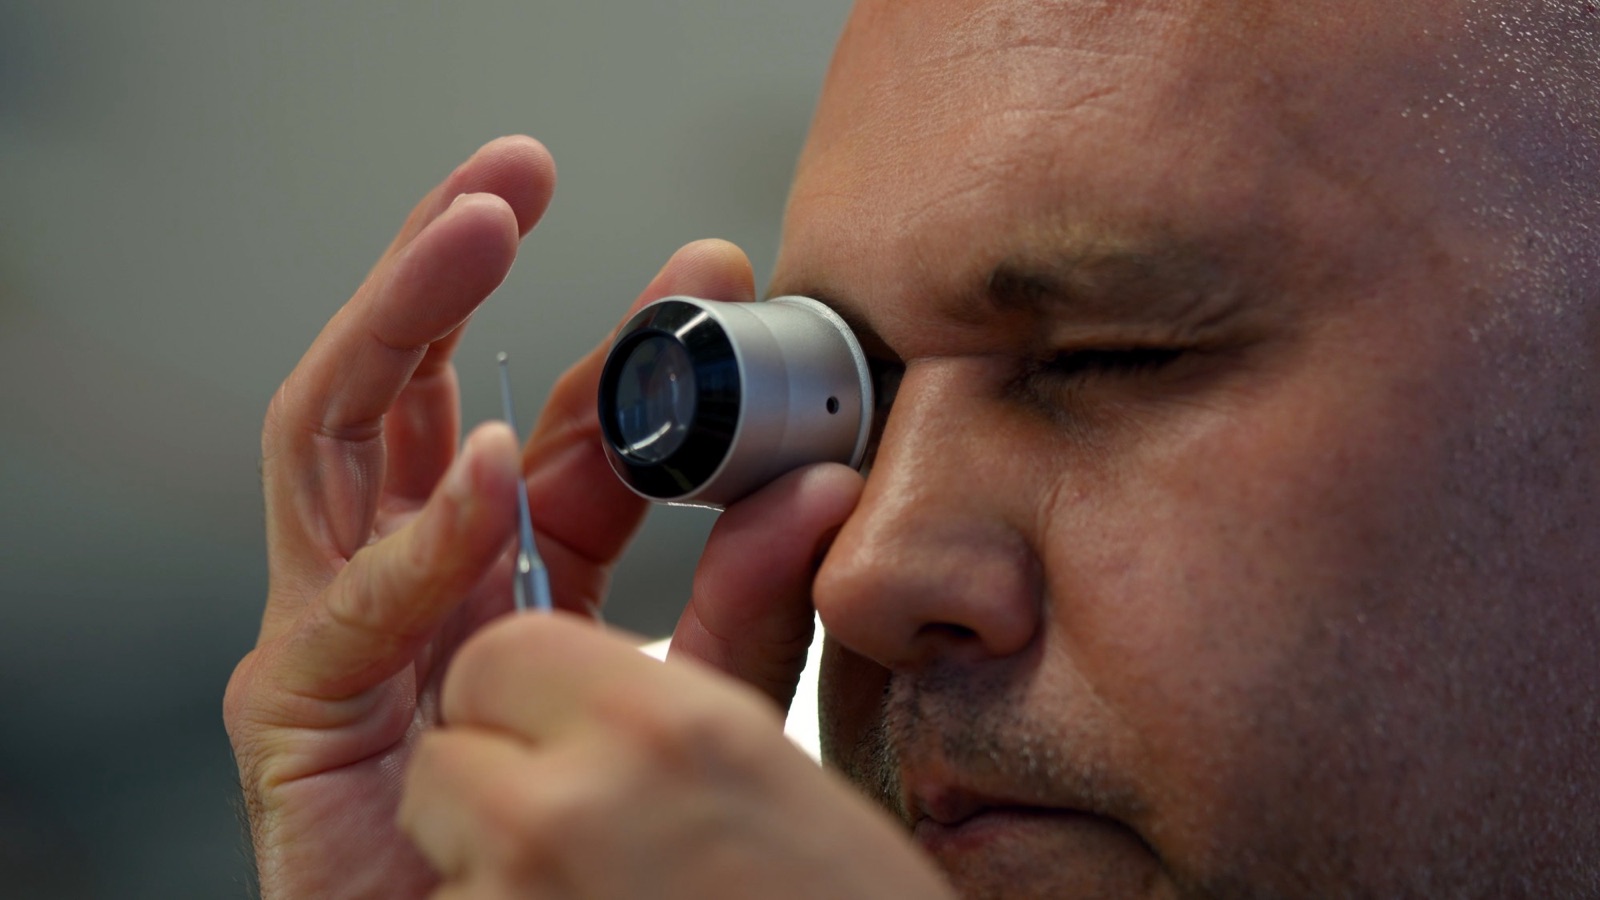
    If necessary, examine your instruments through a magnifying glass to ensure that all residues have been removed.

    Check the condition of the blades and identify any instruments that need sharpening.

    Warnings and observations

    • The use of a magnifying glass (watchmaker style) is recommended.
    • Instruments that are soiled must be cleaned and disinfected again.
    Checking an instrument with a magnifying glass
  6. Sharpening

    Actions

    Check the condition of the edges of the instruments and sharpen them if necessary.

    Warnings and observations

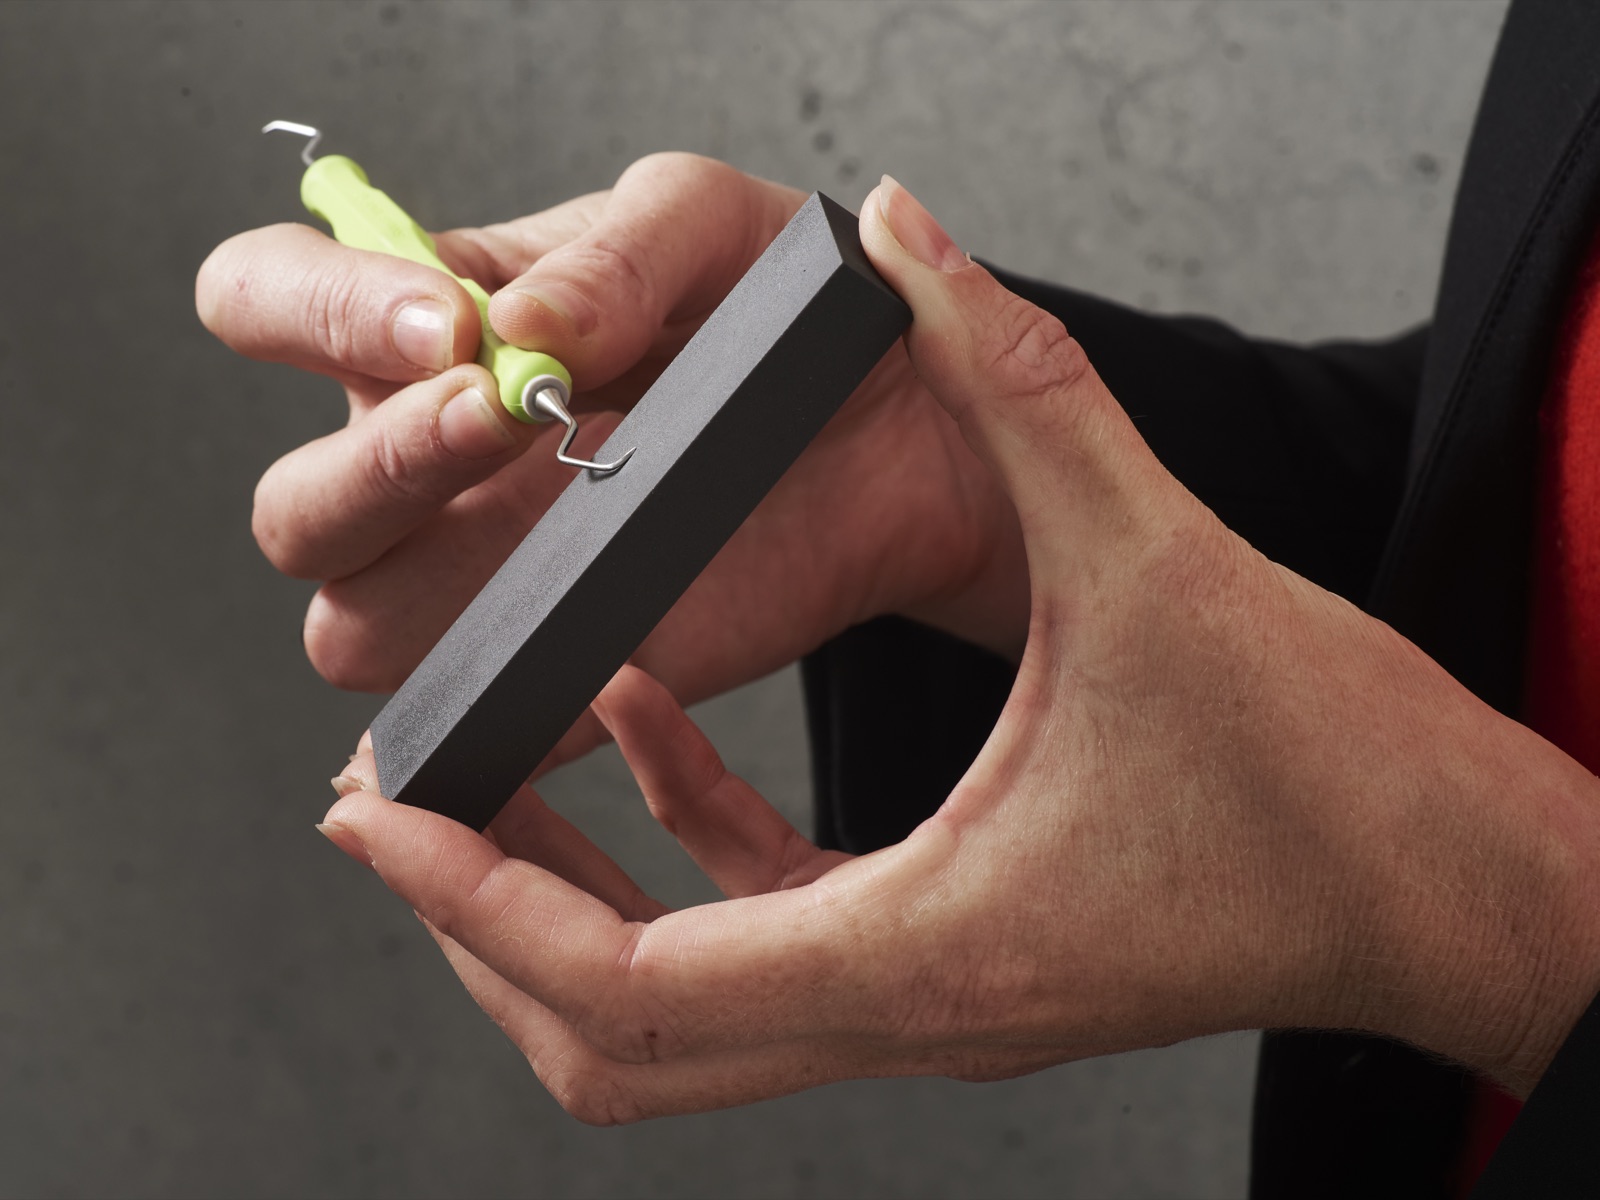
    • We recommend sharpening according to the Deppeler method. It is imperative to sharpen in the direction of the blade in order to guarantee optimum sharpening quality and duration.
    Sharpening ambassador
    Sharpening an instrument on the stone
  7. Packaging

    Actions

    Place the instruments in a sterilization container or place them individually or wrap them in a sterilization bag, taking care that the blades do not pierce the bag.

    Warnings and observations

    • We recommend use of a cassette system for the management of instruments.
    • Preferably small cassettes so that there is no need to reprocess instruments that are only used infrequently.
    Our sterilization boxes
    Sterilization box CLEANext
  8. Sterilization

    Actions

    We recommend steam sterilization (Prion cycle) at 134°C (273.2°F) for 18 min

    Once the cycle is completed, check the integrity of the packaging, that there is no humidity, that the colour or appearance of the instruments has not changed.

    Warnings and observations

    • Only use a pre-vacuum steam sterilizer that meets the requirements of EN 13060 (class B, small sterilizers) and EN 285 (large sterilizers), with saturated steam.
    • Place the sachets in the sterilizer according to the manufacturer’s instructions.
    • Apply a validated sterilization procedure in accordance with ISO 17665.
    • It is the practitioner’s responsibility to follow the calibration, validation and maintenance procedures specified by the sterilizer manufacturer.

Sterilization boxes

All sterilization boxes
  • Sterilization box CLEANext

    The CLEANext sterilization box is used to sterilize dental hand instruments in an autoclave. Its total permeability enables a perfect cleaning.

    CLEANextB5: 5 instruments, 1/4 DIN (83 x 184 x 25 mm) · CLEANextB10: 10 instruments, 1/2 DIN (152 x 184 x 25 mm)

  • Sterilization box STERIBOX

    This sterilization box STERIBOX has been designed to simplify the sterilisation process of all dental instruments, without exception.

    Maximum safety and hygiene: protection of the most fragile parts (instrument tips and ultrasound) and a design without cavities or blind holes to avoid any liquid stagnation.

Special instruments

  • Composite instruments

    Clean the tip immediately after applying composite to remove possible film. Do not clean with a hard bristle brush. Fine scratches make it easy for composite to adhere to the surface.

  • Titanium curettes

    The sharpening of titanium curettes should be done on a stone specifically designed for this material (our reference: ESS4). On the other hand, never use a stone having re-sharpened steel curettes. Steel particles which are placed there could damage the titanium.

  • ADEP sleeves

    When disinfecting and washing, respect the producers recommended concentrations for the products used. Do not exceed the recommended times. Rinse very carefully afterwards to prevent discoloration of the handle sleeve.

    Fitting the ADEP sleeves